Roof vent installation is an essential part of maintaining your home’s health and energy efficiency, not to mention its durability during Nebraska’s changing weather conditions. Proper ventilation can improve airflow, protect your roof, and even lower energy bills. This guide will walk you through each step of the process, ensuring a safe and effective DIY project.
Here’s what you’ll learn in this guide:
- Improved ventilation: Why roof vents are key to a healthy, long-lasting roof.
- DIY-friendly steps: Clear, manageable instructions for homeowners.
- Key safety tips: How to prevent accidents and ensure a secure installation.
Now, grab your tools, and let’s get to work!
💨 Why Roof Ventilation is Critical for Nebraska Homeowners
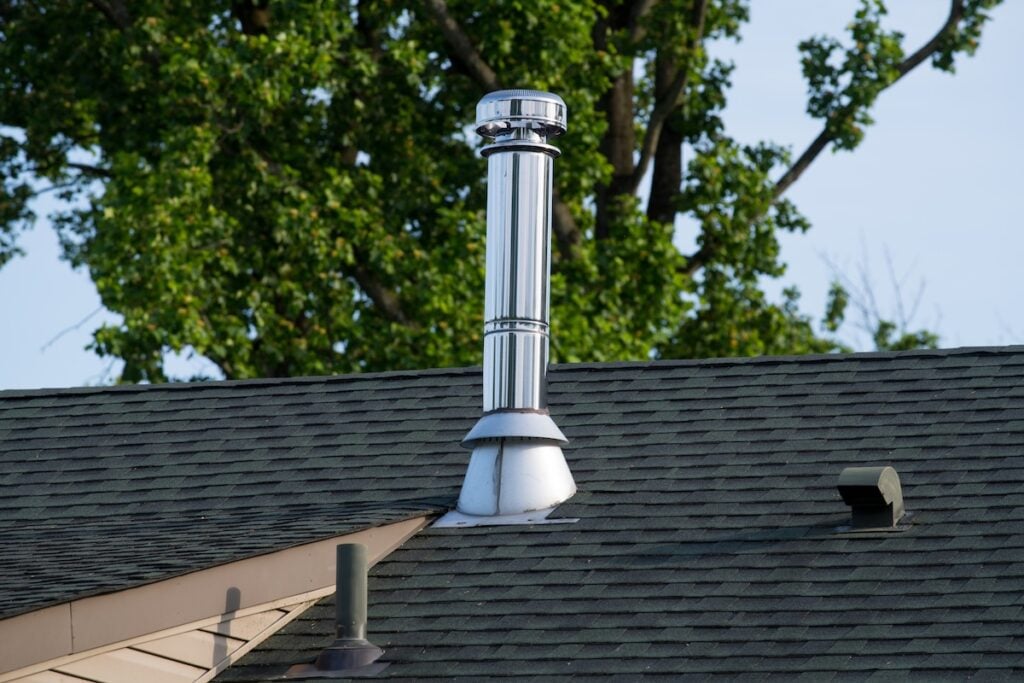
Before getting started, it’s important to understand why proper ventilation is crucial for homes in Nebraska. Having the right different types of roof vents can make all the difference in protecting your attic.
Benefits of Roof Ventilation
- Cooling efficiency: Roof vents help expel hot air in summer, keeping your home cooler and reducing HVAC strain.
- Moisture prevention: Adequate ventilation reduces condensation, preventing mold and mildew from forming.
- Prolonged roof lifespan: Vents help prevent warping and cracking caused by extreme temperatures.
With these benefits in mind, installing roof vents is a smart, cost-effective move for Nebraska homeowners.
🛠️ Tools and Materials You’ll Need
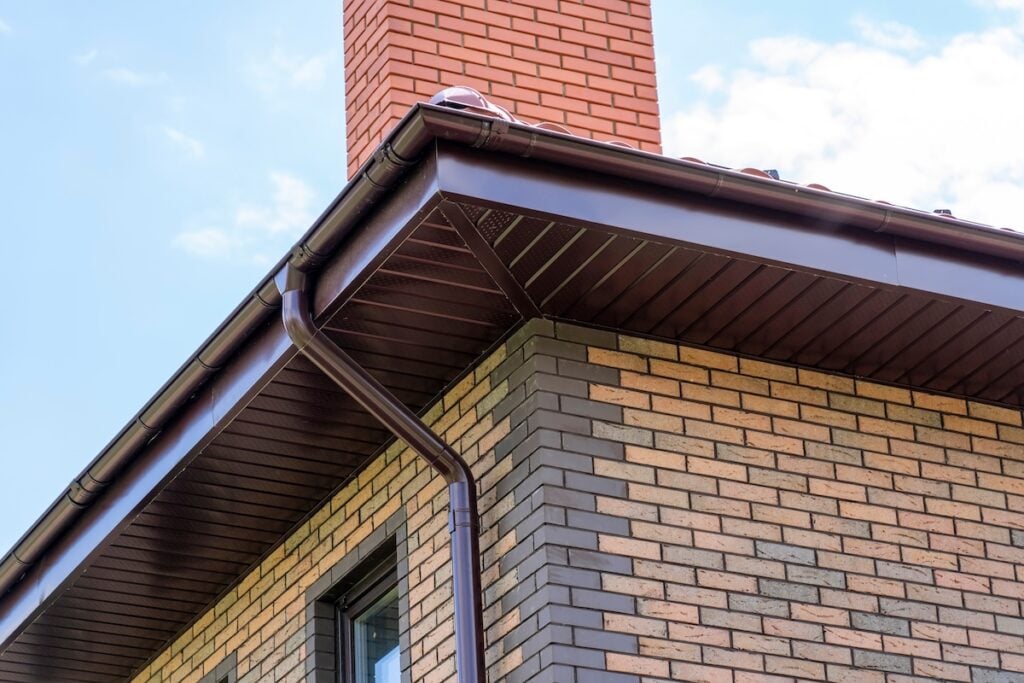
Before heading to the hardware store, it’s helpful to understand the key roof parts you should know so you’re prepared for any extra repairs. Here’s a checklist to make things easier.
Tools
- Circular saw or reciprocating saw
- Drill with multiple drill bits
- Hammer
- Utility knife
- Tape measure
- Extension cord (if using electric tools)
Materials
- Roofing vents (ensure appropriate for your roof type)
- Roofing nails (galvanized for durability)
- Roofing sealant or caulk
- Flashing
- Plywood or shingles (for repairs or replacements)
A trip to your local hardware store or home improvement center should get you everything you need.
👉 Preparing Your Roof
Great preparation is the key to a successful DIY roof vent installation.
Inspect Your Roof
Before cutting any openings, inspect your roof to identify the best locations for vents. Prioritize areas with poor airflow or prone to moisture buildup. Check for loose shingles or damaged roofing that may need repair.
- Safety tips: Always use a sturdy ladder and roof harness to prevent accidents while inspecting your roof.
Measure and Mark
Once you’ve identified the ideal locations for your vents, measure and mark the exact placement. Follow these guidelines for spacing:
- Ridge vents: Ideally placed along the roof ridge for consistent airflow.
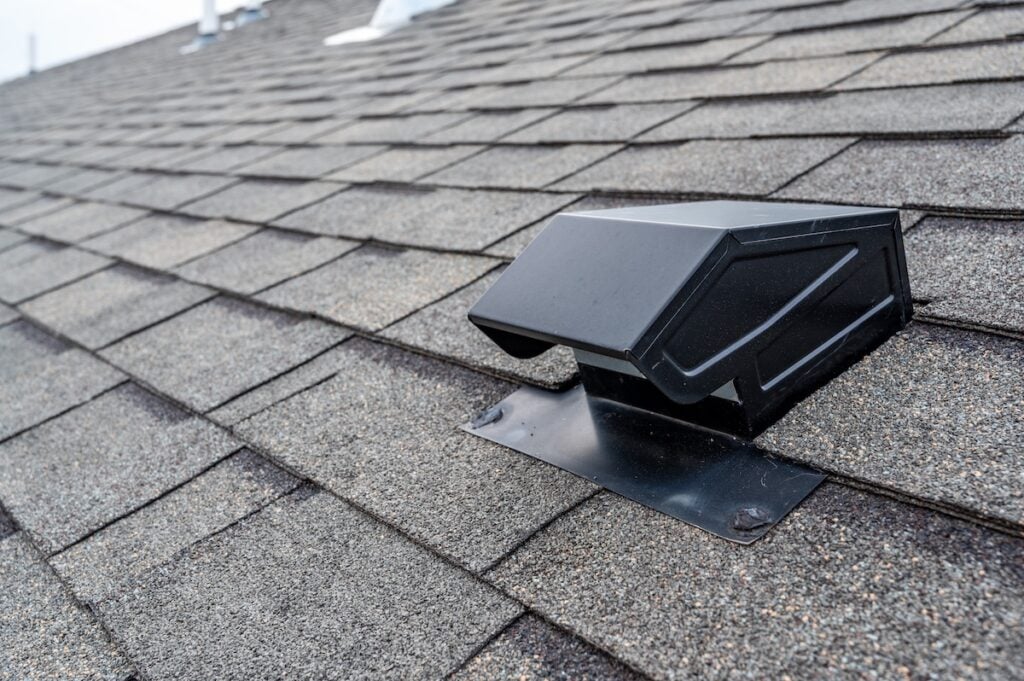
- Static vents: Space evenly based on square footage (one vent per 150 sq. ft. of attic space).
Ensure precise measurements to avoid errors during installation.
🛠️ Installing Your Roof Vent in 7 Steps
Here’s the step-by-step guide for a successful installation.
- Mark the Cutout Area: Use your measurements to outline the area where the vent will be installed. Double-check the markings to ensure accuracy.
- Cut the Opening: Using a circular or reciprocating saw, carefully cut along the marked lines. Be cautious of wires or nails beneath the roofing material.
- Install Flashing: Place flashing around the opening to create a watertight seal. This simple step prevents leaks and protects your roof from water damage.
- Position the Vent: Place the vent over the cutout, ensuring it aligns with the flashing and fits securely. Adjust as necessary before fastening.
- Secure the Vent: Use galvanized roofing nails to secure the vent tightly against the roof. Space the nails evenly to prevent weak spots.
- Seal the Edges: Apply roofing sealant or caulk around the vent’s edges for an added layer of protection. This step ensures water cannot seep through openings.
- Reinstall Shingles: Reattach shingles around the vent to restore your roof’s appearance and functionality. Use roofing nails to secure the shingles in place, this resource on how to shingle a roof can guide you through proper techniques.
Congratulations! You’ve successfully installed your roof vent.
❌ Common Installation Mistakes to Avoid
Even with a detailed guide, mistakes can happen. Here are a few common pitfalls and tips to avoid them.
- Incorrect placement: Improper vent spacing can lead to poor airflow. Always measure carefully and follow manufacturer recommendations.
- Skipping flashing: Omitting flashing increases the risk of leaks, our detailed guide on roof flashing repair shows why it’s so important.
- Using incorrect nails: Always use galvanized roofing nails to prevent rust and maintain the vent’s integrity.
👍 Maintaining Your Roof Vent
Ignoring vent maintenance may eventually raise your roof repair cost considerations, so routine inspections with a professional really pay off.
Inspection Tips
- Seasonal checkups: Inspect vents in spring and fall to catch any potential issues early.
- Remove debris: Clear away leaves, dirt, and debris to avoid blockages that restrict airflow.
- Check for damage: Look for wear-and-tear, cracks, or gaps that may require repair or replacement.
Routine maintenance ensures your investment in roof ventilation continues to pay off for years to come.
❓ FAQs About DIY Roof Vent Installation
Do I need special permits to install roof vents in Nebraska?
- Typically, roof vent installations don’t require permits, but it’s always a good idea to check local building codes.
Can roof vents reduce cooling costs?
- Yes! Proper ventilation prevents hot air from accumulating in your attic, making your HVAC system more efficient.
What’s the best time of year to install roof vents?
- Spring or early fall are ideal, as you’re less likely to face extreme temperatures or adverse weather.
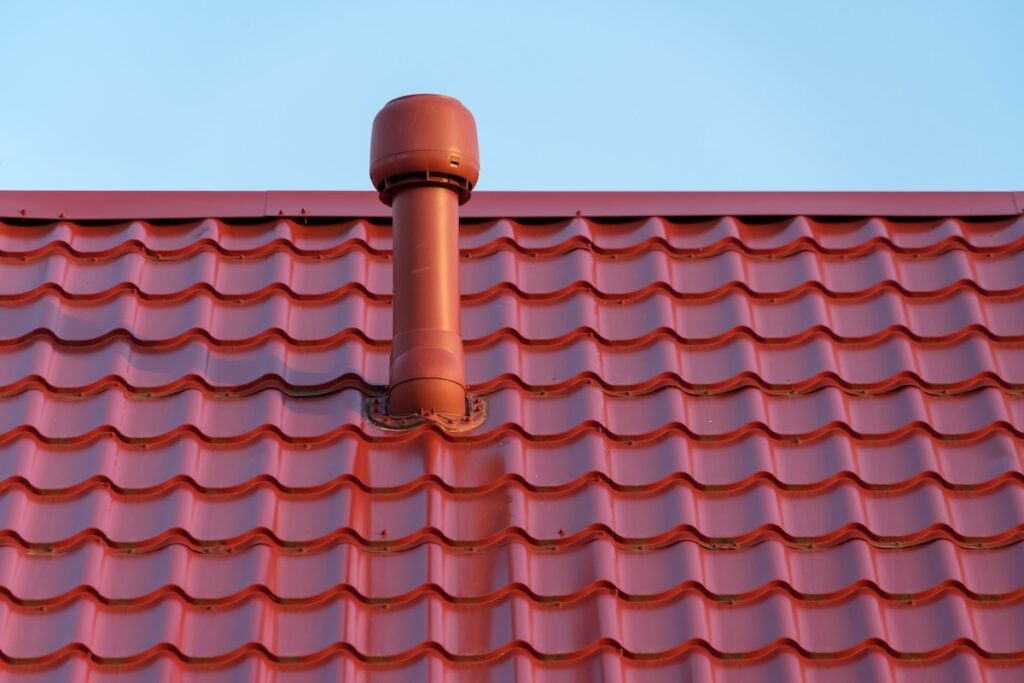
Can I install roof vents on all types of roofs?
- Roof vents are compatible with most roof types, but installation methods may vary. Check the vent manufacturer’s guidelines for best practices.
🏠 Why Trust J-Tech Construction & Solar for Your Roofing Needs?
At J-Tech Construction & Solar, we understand Nebraska’s unique climate challenges better than anyone else. From roof repairs to professional vent installations, our team has the expertise and experience to ensure your home stays protected and efficient year-round.
If DIY isn’t your style or you’d like a professional to assess your roof, we’re here to help. Contact us for expert guidance or to schedule a roof inspection today.
Get in touch with J-Tech Construction & Solar now and keep your home safe, dry, and efficient!