From harsh winters to summer storms, understanding how to shingle a roof can save homeowners time, money, and stress in the long run. Done correctly, a shingled roof provides excellent durability, insulation, and aesthetic appeal for years to come. Shingling a roof is one of the most critical steps to protecting your home from the elements, especially when dealing with Nebraska’s diverse climate.
Here’s what this blog will cover:
- Key materials you’ll need to shingle a roof in Nebraska.
- A step-by-step guide to installing shingles.
- Tips for maintaining your roof to handle Nebraska’s tough weather.
Whether you’re a DIY enthusiast or considering hiring a professional, this blog will walk you through everything you need to know about shingling a roof in Nebraska. By the end, you’ll understand the materials required, the process involved, and how to keep your roof in great shape for years to come.
❗️ Why Shingling Matters
Nebraska homeowners know that the weather here is no joke. Between heavy snowfalls, strong winds, and the potential for hailstorms, your roof plays a vital role in protecting your household. Shingling your roof properly ensures you’re prepared for whatever Mother Nature throws your way.
Why shingles? Asphalt shingles are the most popular roofing material in the U.S. for plenty of reasons. They’re affordable, durable, and versatile enough to suit almost any climate. Common issues like missing shingles can speed up roof deterioration if not fixed promptly.
Key benefits of shingling your roof include:
- Weather resistance: Shingles provide strong protection against snow, wind, and hail.
- Cost-effectiveness: Shingles are one of the most affordable roofing materials available.
- Aesthetic versatility: With countless colors and styles available, shingles can enhance your curb appeal.
🪨 Materials Needed to Shingle a Roof
Before you begin, it’s helpful to recognize the roof parts involved in the installation.
Roofing Materials
- Shingles: Asphalt shingles are most common, but consider architectural shingles for added durability and style.
- Roofing nails: Galvanized nails resist rust and are ideal for outdoor use.
- Roofing felt or underlayment: This acts as a moisture barrier to protect the roof deck.
- Drip edge: Metal edging installed along the eaves to prevent water damage.
- Ice and water shield: Extra protection for valleys and other vulnerable areas prone to leaks.
Tools
- Roofing hammer or nail gun
- Utility knife: For cutting shingles to size.
- Roofing shovel: To remove old shingles, if necessary.
- Ladder and safety harness: Essential for working safely at height.
- Chalk line: To ensure straight rows of shingles.
By preparing these materials and tools in advance, you can avoid unnecessary delays during the process.
✅ 6 Steps for Your Roofing Project
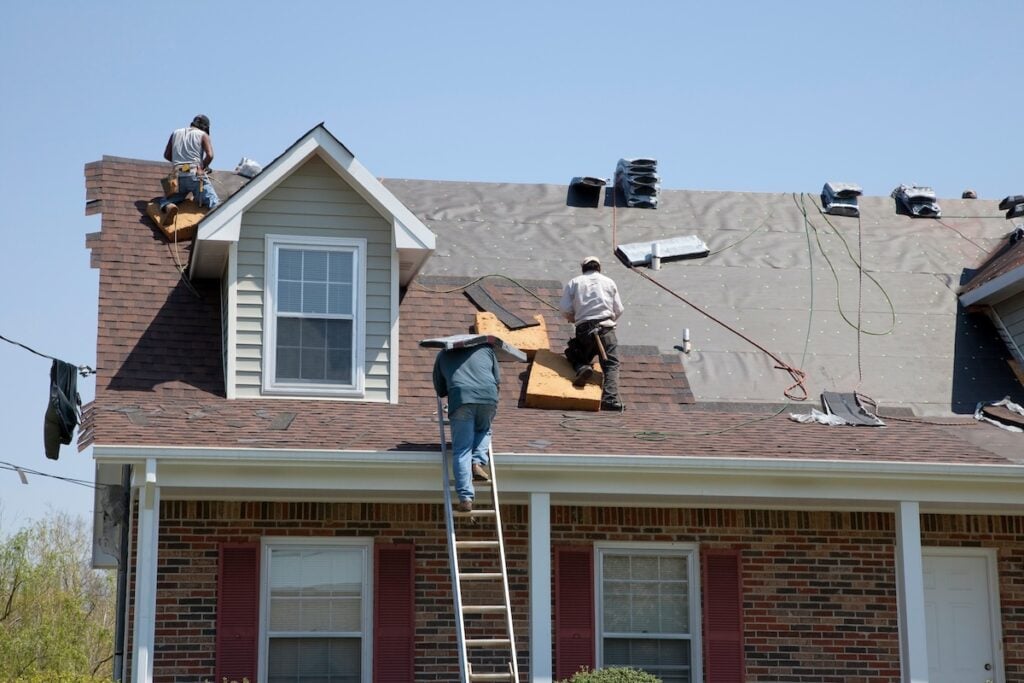
1. Prepare the Roof Surface
Before installing new shingles, the roof deck must be clean and smooth. Remove any old shingles, nails, or debris. Inspect the deck for damage, such as rotting wood, and make necessary repairs. Then, lay your roofing felt or underlayment evenly over the surface to provide a moisture barrier.
2. Install Drip Edge and Ice/Water Shield
Attach drip edge around the edges of the roof, using roofing nails to secure it in place. For areas prone to leaks, apply an ice and water shield to add an extra layer of protection. This is especially important in Nebraska, where heavy snowmelt can test a roof’s durability. Along with water protection, don’t forget the importance of roof flashing repair in vulnerable areas.
3. Mark Guidelines with Chalk Line
Use a chalk line to draw straight horizontal lines across the roof deck. These lines will act as guides to ensure your shingles are laid evenly and neatly. Proper alignment is crucial for both function and appearance.
4. Lay the Starter Shingles
Begin by installing starter shingles along the eaves. These shingles provide the first layer of protection and help prevent water infiltration. Overlap them slightly to ensure proper coverage.
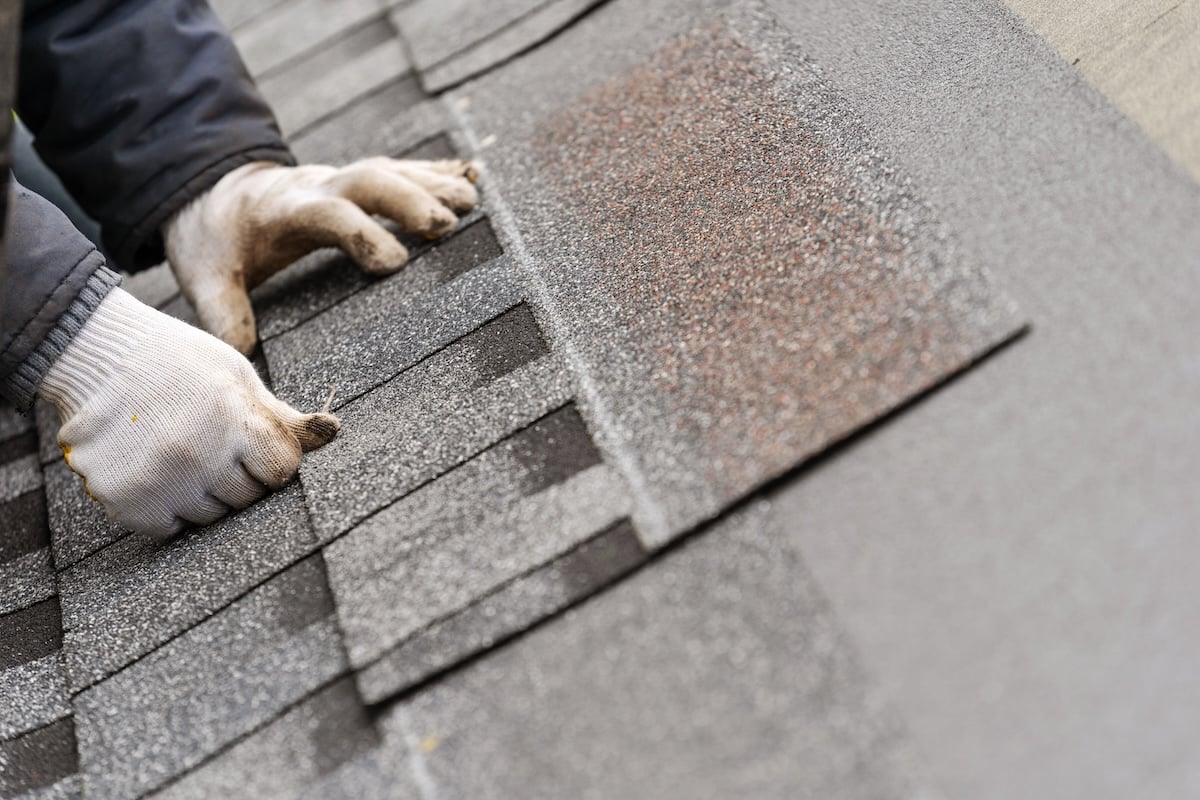
5. Apply Main Shingles
Once the starter shingles are in place, it’s time for the main shingles. Follow these steps:
- Work in rows from the bottom to the top of the roof.
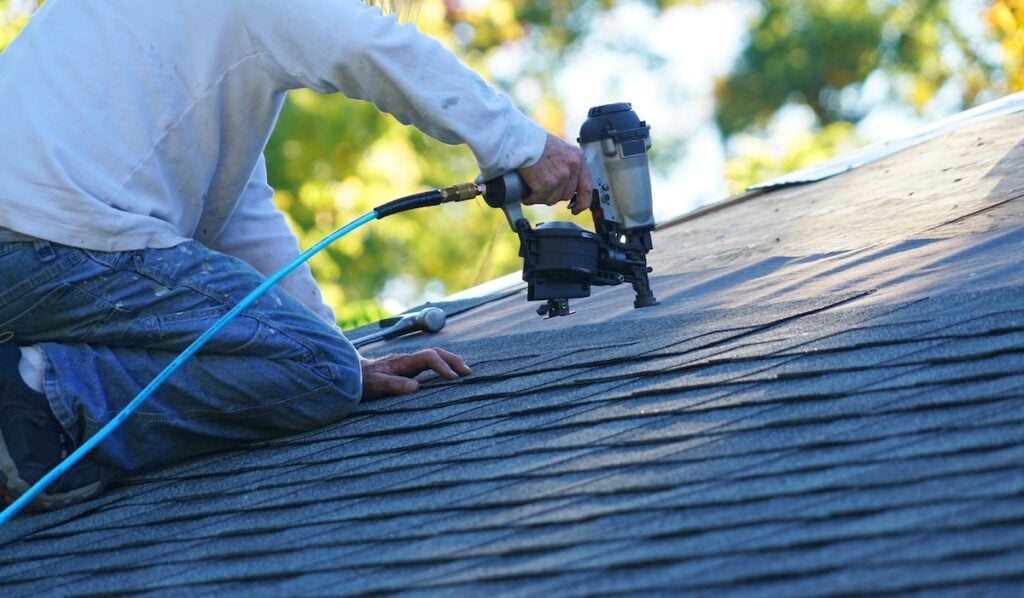
- Lay each shingle so it overlaps the one below, according to the manufacturer’s instructions.
- Secure each shingle with roofing nails, positioning them just above the adhesive strip.
Be sure to stagger the shingles to create a natural, seamless look. This also prevents water from seeping through the seams.
6. Finish with Ridge Cap Shingles
Finally, install ridge cap shingles along the peak of the roof. These shingles are designed to protect the ridge line from water and wind damage while giving the roof a polished appearance. Secure them with nails, ensuring they’re properly aligned and overlapping.
🛠️ Maintenance Tips for Long-Lasting Asphalt Shingles
Shingling your roof is a long-term investment. To protect that investment, regular maintenance is essential. Here are some tips to extend the life of your new roof:
- Inspect regularly: Check for loose shingles, leaks, or signs of damage after severe weather.
- Keep gutters clean: Remove debris to prevent water from backing up onto your roof.
- Trim overhanging branches: Protect your roof from scratches and blockages caused by fallen limbs or leaves.
- Address issues promptly: Fixing small problems early can help lower your roof repair cost over time.
- Schedule professional inspections: Having your roof assessed annually by an expert can catch issues you might miss.

📋 Frequently Asked Questions (FAQs)
How long do asphalt shingles typically last?
- Most asphalt shingles have a lifespan of 20-30 years, depending on the brand and maintenance. High-quality architectural shingles can last even longer.
Can I install shingles over an existing roof?
- While it’s possible, it’s usually not recommended. Layering shingles can add unnecessary weight and may not address underlying issues with the roof deck. Start fresh for the best results.
How do I know when it’s time to replace my roof?
- If you notice curling, leaks, or missing shingles, consider a shingle roof repair done by professionals.
Should I hire a professional or attempt this as a DIY project?
- Shingling a roof is a complex task that requires proper tools, knowledge, and safety precautions. While DIY is possible for experienced individuals, hiring professionals ensures a faster, safer installation.
👉 The Final Word on Shingling a Roof
Shingling a roof is an essential part of protecting your home and ensuring its longevity. By understanding the materials, following proper installation techniques, and maintaining your shingles regularly, you can enjoy a sturdy and beautiful roof for decades.
If you’re ready to shingle your roof but don’t want to handle the project alone, J-Tech Construction & Solar is here to help. With our expertise in Nebraska’s unique climate and market, we’ll ensure your roof is built to last.
Contact us today for a personalized estimate, roof repair, or professional guidance on your next home improvement project. Together, we’ll keep your home safe, protected, and looking its best.