If you’re researching how to install metal siding, understanding the proper tools, techniques, and step-by-step process is essential for achieving a durable and professional finish. Metal siding is a popular choice among homeowners for its longevity, low maintenance, and modern appearance. In Omaha and surrounding areas, where homes must withstand strong winds, heavy snow, and fluctuating temperatures, properly installed metal siding provides reliable protection and long-lasting curb appeal.
- Durability: Metal siding resists weather damage, pests, and fire.
- Energy Efficiency: Reflective properties help regulate indoor temperatures.
- Low Maintenance: Requires minimal upkeep compared to traditional siding materials.
Benefits of Installing Metal Siding
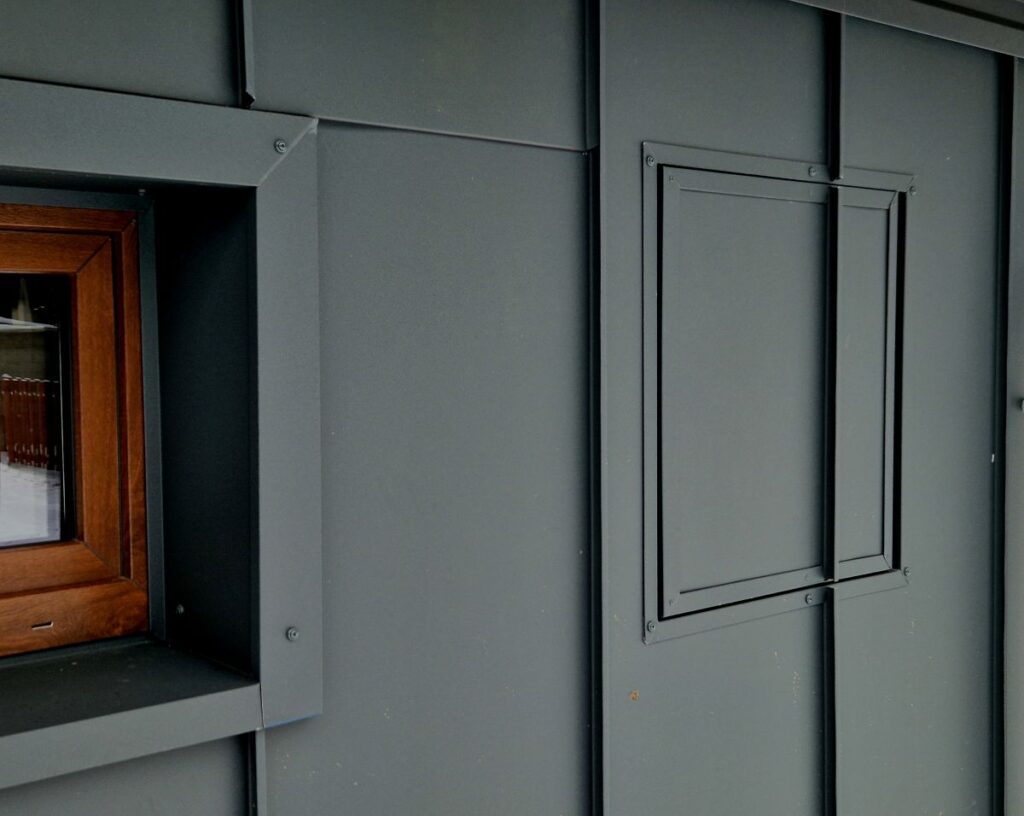
Metal siding offers a range of advantages that make it an excellent investment for homeowners seeking long-term performance and visual appeal. It is available in various styles, colors, and finishes, including options that mimic wood grain for a natural aesthetic without the maintenance requirements.
In Omaha and surrounding areas, metal siding is particularly beneficial due to its ability to withstand harsh Nebraska weather conditions. Its resistance to moisture, UV rays, and temperature fluctuations ensures lasting durability and reliable protection for your home.
Tools and Materials Needed
Before beginning your installation project, it’s important to gather all necessary tools and materials. Proper preparation helps ensure a smooth installation process and professional results.
- Metal Siding Panels: Available in steel or aluminum with various finishes.
- House Wrap or Vapor Barrier: Provides moisture protection and improves insulation performance.
- Fasteners: Use corrosion-resistant screws designed for metal siding installation.
- Tin Snips or Metal Shears: Required for precise panel cutting.
- Level and Measuring Tape: Ensures accurate alignment and spacing.
- Power Drill or Screw Gun: Secures panels efficiently and securely.
- Starter Strip and Trim Pieces: Essential for a clean, finished appearance.
- Safety Equipment: Includes gloves, goggles, and protective clothing.
Preparing Your Home for Installation
Proper preparation is critical for ensuring a successful metal siding installation. Taking the time to prepare the surface and structure of your home helps prevent future issues such as moisture intrusion or uneven panel alignment.
Begin by inspecting the exterior walls for damage or structural concerns. Repair any deteriorated sheathing or framing before proceeding. Next, install a high-quality house wrap or vapor barrier to protect against moisture infiltration and improve energy efficiency. Ensuring a smooth, level surface will make the installation process easier and result in a more professional finish.
8 easy Steps To Install Metal Siding
Following a structured process helps ensure your metal siding is installed correctly and performs reliably for years to come.
1. Install the Starter Strip
The starter strip serves as the foundation for your siding installation. It is installed along the bottom edge of the wall and ensures the first row of panels is properly aligned.
- Ensure Level Placement: Use a level to maintain consistent alignment.
- Secure Firmly: Fasten the strip with corrosion-resistant screws.
- Maintain Proper Spacing: Allow room for expansion and contraction.
2. Install Corner Trim
Corner trim pieces are installed at all exterior corners to provide structural support and create a clean transition between siding panels.
- Align Precisely: Proper alignment ensures a seamless appearance.
- Secure with Fasteners: Use manufacturer-recommended screws for durability.
- Check for Plumb Positioning: Maintain straight vertical lines for professional results.
3. Attach the First Metal Siding Panel
The first panel sets the tone for the entire installation, so accuracy is essential. Carefully position the panel into the starter strip and secure it in place.
- Ensure Proper Fit: Slide the panel securely into the starter strip.
- Check Alignment: Use a level to confirm the panel is straight.
- Fasten Correctly: Avoid over-tightening screws to allow for movement.
4. Continue Installing Additional Panels
Work your way across the wall, installing each panel in sequence. Proper overlap and alignment ensure a weather-tight seal and consistent appearance.
- Overlap Panels Properly: Follow manufacturer guidelines for secure connections.
- Maintain Even Spacing: Prevent gaps or uneven lines.
- Inspect Each Panel: Ensure alignment before moving to the next section.
5. Cut Panels to Fit Around Openings
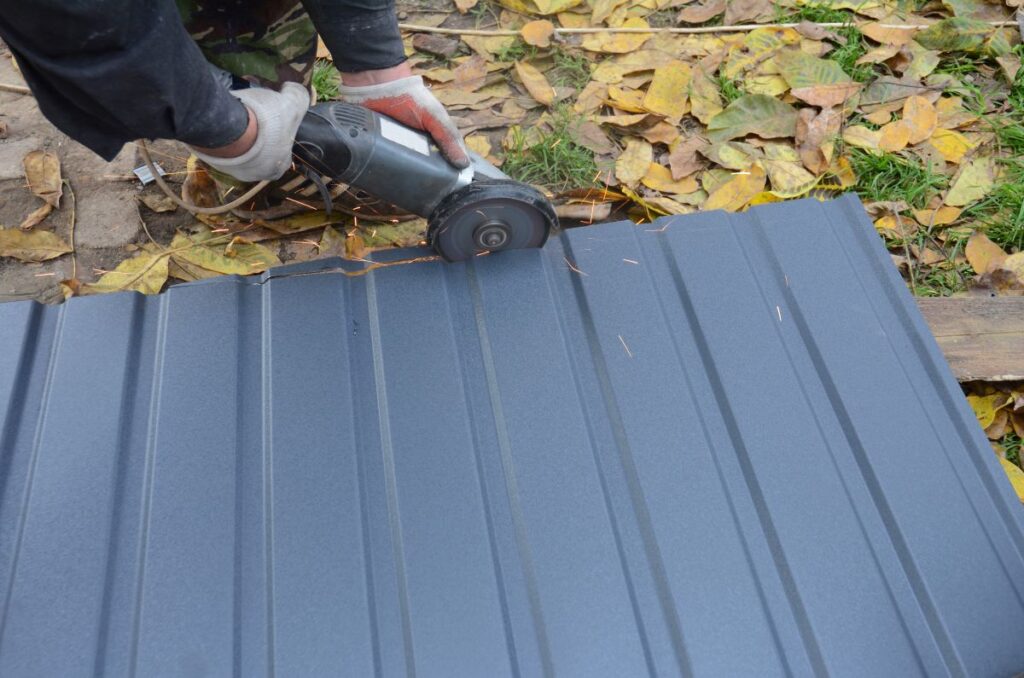
Windows, doors, and other openings require precise cuts to ensure a tight fit and professional finish.
- Measure Carefully: Accurate measurements prevent material waste.
- Use Proper Cutting Tools: Tin snips or metal shears provide clean cuts.
- Install J-Channel Trim: Frames openings and improves water resistance.
6. Install Trim Around Windows and Doors
Trim pieces enhance both functionality and aesthetics by sealing edges and preventing moisture intrusion.
- Ensure Watertight Seals: Protect vulnerable areas from leaks.
- Secure Trim Firmly: Use appropriate fasteners for long-lasting durability.
- Maintain Consistent Spacing: Achieve a polished, professional appearance.
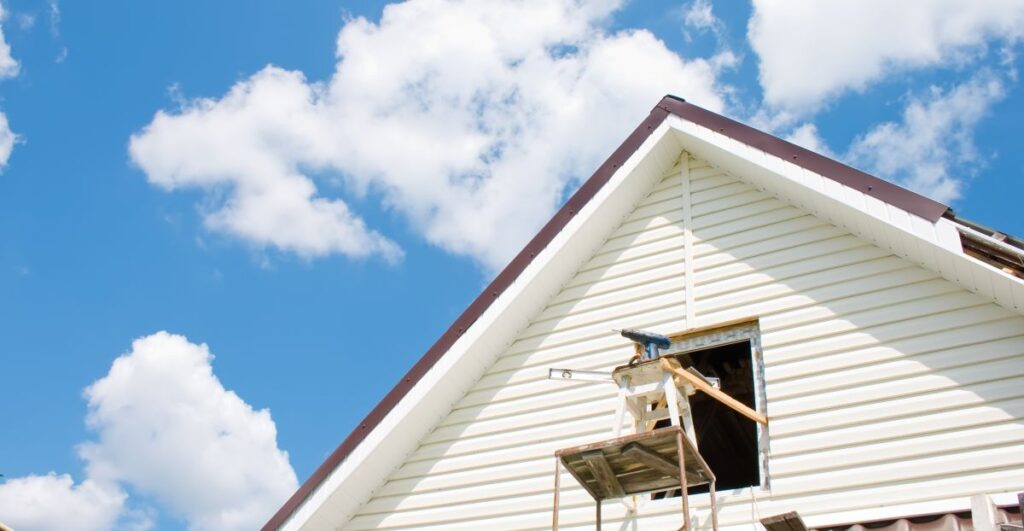
7. Install the Final Row of Panels
The final row of siding panels must be carefully measured and cut to fit the remaining space beneath the soffit or roofline.
- Measure Precisely: Ensure a snug and secure fit.
- Secure Panels Properly: Maintain alignment and structural integrity.
- Use Finishing Trim: Creates a clean transition at the top of the wall.
8. Complete Installation with Finishing Trim
Finishing trim pieces provide the final touch, sealing all edges and enhancing the overall appearance of the siding.
- Install Soffit and Fascia Trim: Protect roof edges and improve ventilation.
- Seal All Joints: Prevent moisture infiltration and ensure durability.
- Inspect the Entire Installation: Confirm all panels and trim are secure and properly aligned.
Common Installation Mistakes to Avoid
Avoiding common mistakes helps ensure a successful installation and long-lasting performance.
- Over-Tightening Fasteners: Restricts natural expansion and contraction of metal panels.
- Improper Panel Alignment: Leads to uneven appearance and potential water infiltration.
- Skipping Moisture Barriers: Increases the risk of structural damage and mold growth.
- Using Incorrect Tools: Can result in rough edges or improper panel fitting.
By following best practices and using the correct materials, homeowners can achieve professional-quality results that enhance both durability and curb appeal.
Why Professional Installation Matters
While DIY installation is possible, hiring experienced professionals ensures optimal performance and long-term reliability. Professional installers have the expertise and equipment needed to handle complex installations and ensure compliance with building codes.
For homeowners in Omaha and surrounding areas, working with professionals provides peace of mind and ensures your metal siding performs well under Nebraska’s demanding weather conditions. Proper installation protects your investment and maximizes the lifespan of your siding.
Upgrade Your Home with Expert Metal Siding Installation
Learning how to install metal siding correctly can help homeowners understand the process and make informed decisions about their exterior improvement projects. Whether you choose to tackle the installation yourself or hire professionals, proper preparation and attention to detail are essential for achieving lasting results.
If you’re considering metal siding installation in Omaha and surrounding areas, J-Tech Construction & Solar is ready to help. Our experienced team delivers high-quality craftsmanship, reliable materials, and professional service tailored to your home’s needs.
Contact J-Tech Construction & Solar today for a free estimate and discover how professionally installed metal siding can enhance your home’s durability, efficiency, and curb appeal.