If you’re learning about chimney flashing, you’re already taking an important step toward preventing roof leaks and long-term water damage. Flashing is one of the most critical components of your roofing system, protecting the seam where your chimney meets the roof. For homeowners in Grand Island and surrounding areas, understanding proper flashing placement, materials, and maintenance is key to ensuring your roof stays watertight through Nebraska’s changing weather.
- Leak Prevention: Flashing directs water away from vulnerable seams and joints.
- Durability: Properly installed flashing can last for decades with routine care.
- Energy Efficiency: A sealed chimney area prevents heat loss and drafts.
What Is Chimney Flashing?
Chimney flashing is a thin, waterproof material—usually metal—that seals the intersection between the chimney and roof surface. Without it, rain and melting snow can seep into the roof decking or walls, causing rot, mold, and interior stains. Over time, even small gaps around your chimney can lead to costly structural damage if flashing isn’t properly installed or maintained.
Homeowners in Grand Island and surrounding areas often experience flashing failures due to seasonal temperature swings, high winds, or improper installation. By learning how flashing works and where it belongs, you can catch early warning signs of trouble before they become major issues.
Components of a Flashing System
A complete chimney flashing system uses multiple parts that work together to keep water out.
- Base Flashing: Installed under the shingles along the bottom of the chimney to divert water downward.
- Step Flashing: Consists of overlapping metal pieces along the chimney’s sides that guide water off the roof.
- Counter Flashing: Installed into the chimney masonry and over the base and step flashing to create a watertight seal.
- Cricket or Saddle: A small, peaked structure added to the high side of wide chimneys to divert water around them.
Why Flashing Is Essential
Because chimneys penetrate through the roof surface, they naturally create weak spots where water can enter. Flashing seals these vulnerable areas, protecting not just your roof but also insulation, drywall, and framing materials. Even small cracks or gaps can allow water intrusion that may go unnoticed until interior stains or damp odors appear.
Best Materials for Chimney Flashing
Not all flashing materials perform the same, especially under Nebraska’s freeze-thaw cycles. Choosing a high-quality material helps prevent rust, corrosion, and leaks.
- Aluminum: Lightweight, easy to shape, and affordable, but can corrode when exposed to certain masonry materials.
- Copper: A premium choice that offers longevity, aesthetic appeal, and natural resistance to corrosion.
- Galvanized Steel: Durable and cost-effective, though it may rust over time if not coated properly.
- Lead: Extremely flexible and long-lasting, ideal for chimneys with irregular surfaces or complex designs.
The right flashing material depends on your roof type, chimney size, and budget. Professionals typically match the flashing metal with existing roof components for consistent durability and appearance.
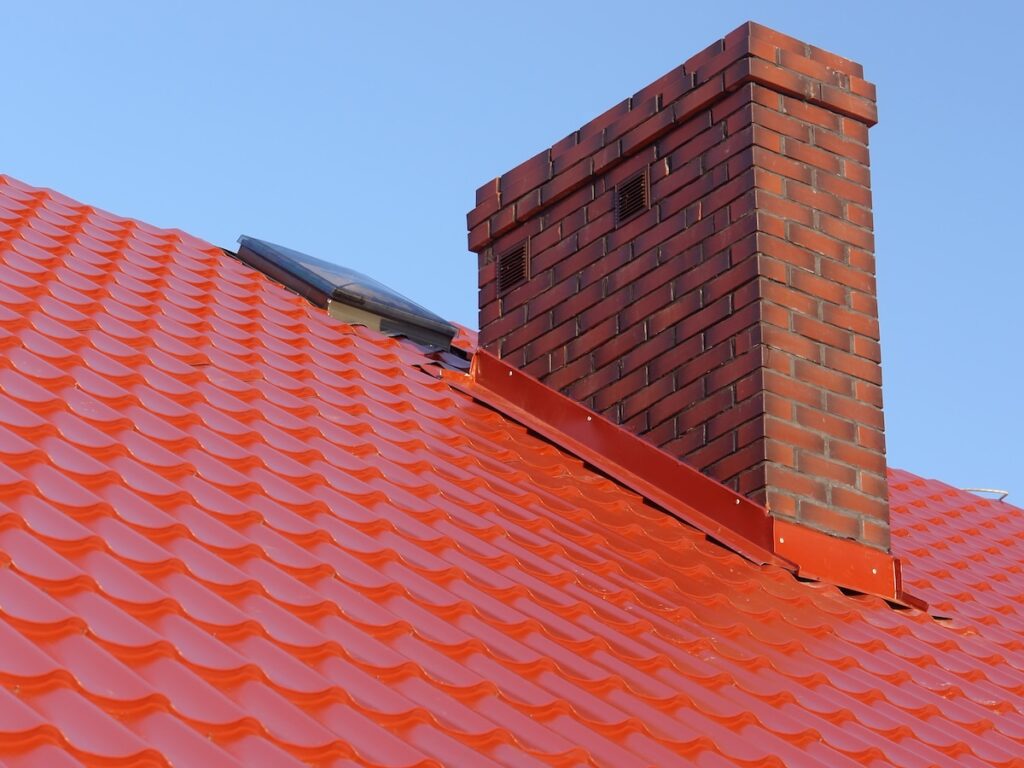
Proper Chimney Flashing Placement
Correct placement is vital for performance. Flashing must be layered and sealed in a way that directs water downward and away from the chimney’s base.
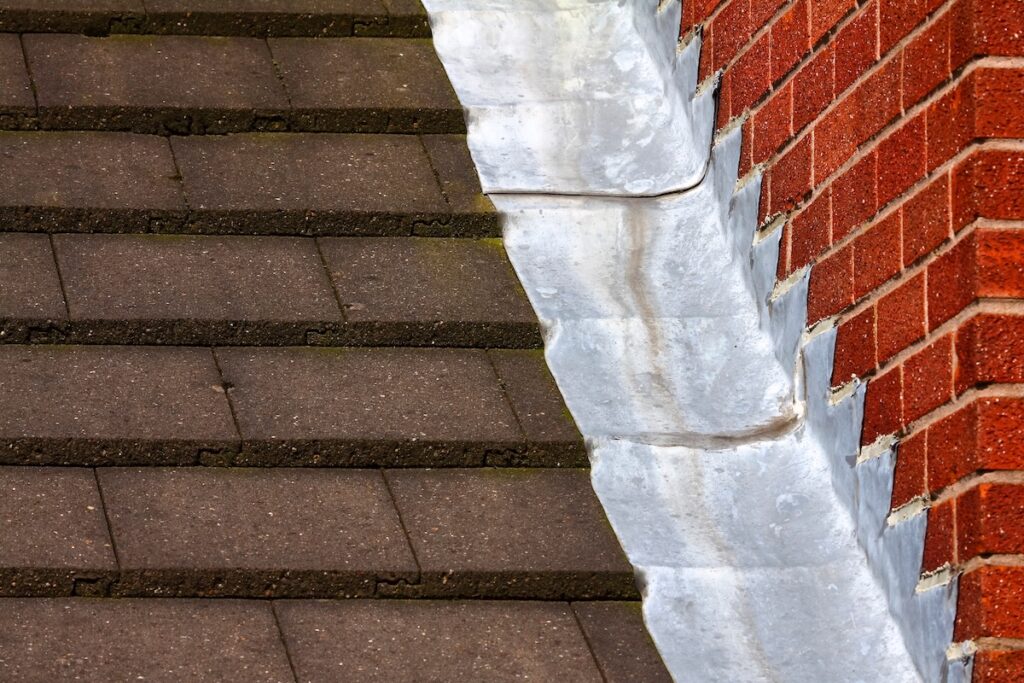
Step Flashing Along the Sides
Each piece of step flashing should overlap the next by at least two inches and interlock with a shingle above it. This overlapping pattern allows water to flow over the flashing instead of underneath it. Installing flashing beneath shingles instead of over them is one of the most common—and costly—errors in roof work.
Counter Flashing in the Masonry
Counter flashing must be embedded into the chimney’s mortar joints, then bent down over the step flashing. This overlapping creates a water-tight connection that moves with the roof and chimney during expansion or contraction. The top edge should be sealed with high-quality roofing caulk or mortar for added protection.
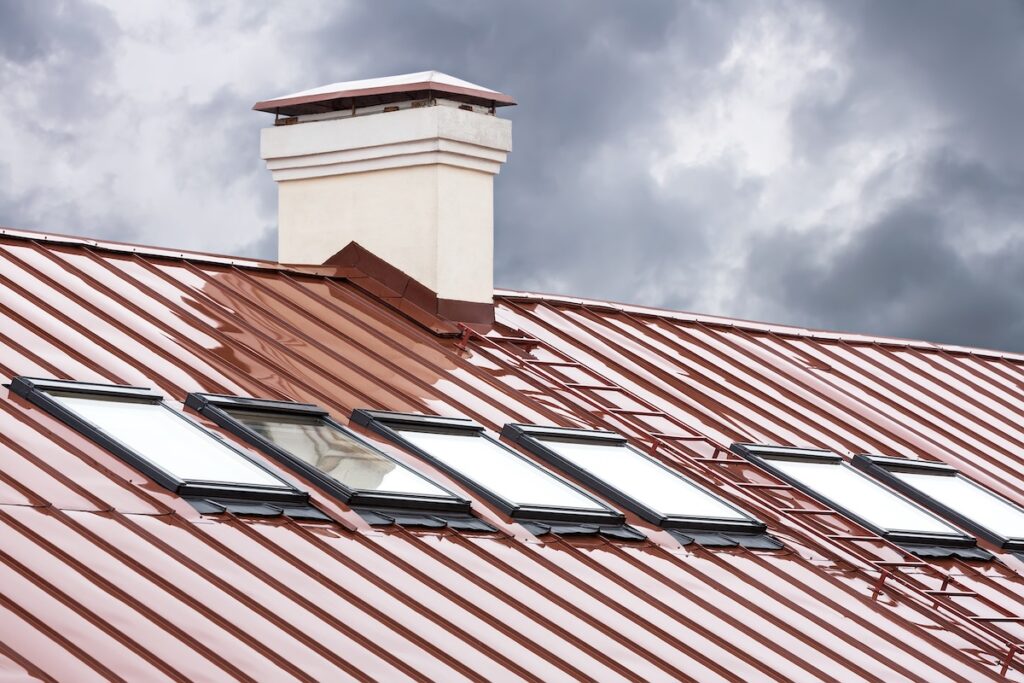
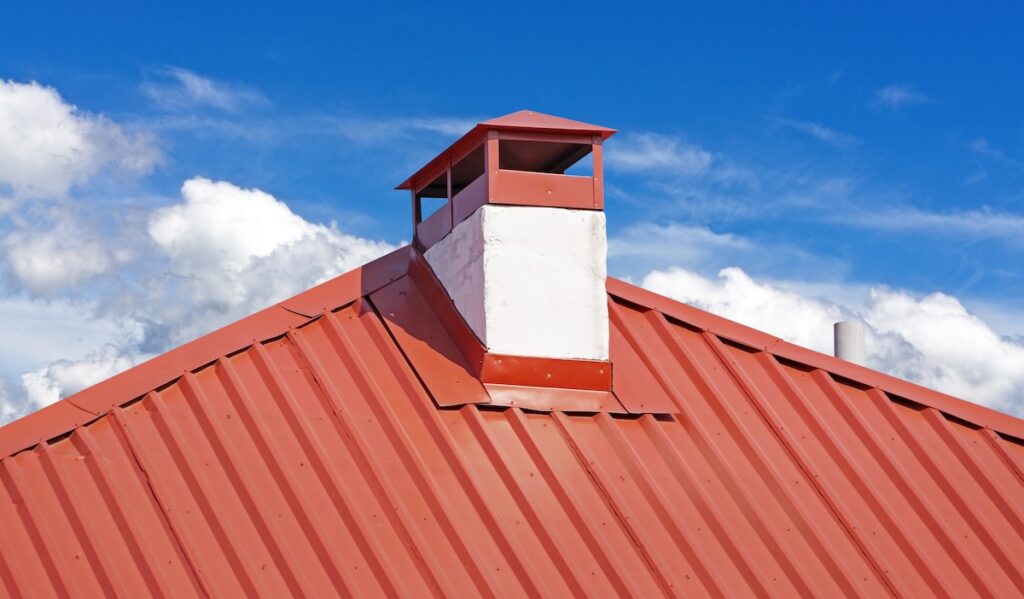
Flashing Around the Back
The backside of the chimney often requires special attention since it faces the highest water flow. Larger chimneys may need a metal “cricket” or saddle flashing, which directs water around the chimney and prevents pooling. In heavy-rain or snow areas around Grand Island and surrounding areas, adding this extra feature is highly recommended.
7 Signs Your Chimney Flashing Needs Repair
Even properly installed flashing can wear out over time, especially in areas with frequent rain, snow, or temperature changes. Regular inspections help prevent minor issues from turning into major water damage that can impact your roof structure or interior walls.
- Rust or Corrosion: Discoloration or rust spots on metal flashing indicate aging material and potential leakage.
- Cracked Mortar Joints: Gaps or crumbling mortar around the chimney allow water to seep beneath the seal, leading to moisture intrusion.
- Loose or Bent Metal: Strong winds, shifting temperatures, or debris impact can cause flashing to lift or pull away from the chimney.
- Water Stains Indoors: Brown spots or damp areas on ceilings or walls near the chimney are telltale signs of a flashing leak.
- Moss or Algae Growth: Persistent moisture buildup around the chimney base encourages organic growth, often signaling poor drainage or leaks.
- Separated Flashing Layers: If counter flashing and base flashing are no longer tightly connected, water can slip between the layers and enter your roofing system.
- Damaged Roofing Near the Chimney: Curling shingles, soft spots, or sagging roof decking around the chimney often indicate flashing failure underneath.
If you notice any of these warning signs, schedule a professional inspection before the issue worsens. Addressing chimney flashing damage promptly helps prevent structural deterioration, interior water damage, and expensive future repairs.
Maintenance Tips To Prevent Flashing Damage
Like all parts of your roofing system, flashing requires care to stay effective. With Nebraska’s mix of sun, snow, and rain, seasonal maintenance goes a long way toward protecting your home.
- Inspect Twice a Year: Check flashing in the spring and fall, especially after severe storms.
- Clean Debris Regularly: Remove leaves and twigs that can trap moisture near the chimney base.
- Re-Seal as Needed: Apply roofing sealant to any visible cracks or gaps to prevent leaks.
- Schedule Professional Inspections: Experts can check for hidden corrosion or weak spots during annual roof maintenance visits.
Why Professional Installation Is Key
While DIY chimney flashing repair might sound tempting, precision is critical for long-term waterproofing. Roofing specialists understand how to integrate flashing correctly with shingles, mortar, and roof slopes to prevent future leaks. For homeowners in Grand Island and surrounding areas, professional service also ensures compliance with local building codes and manufacturer warranty requirements.
- Proper Fit: Pros cut and bend flashing precisely to fit the chimney shape.
- Leak Prevention: Experienced installers use the right sealants and fasteners for lasting protection.
- Comprehensive Warranty: Many roof warranties require certified installation to remain valid.
Protect Your Roof With J-Tech Construction & Solar
Chimney flashing might be a small detail, but it plays a big role in keeping your roof watertight and your home safe. When flashing is properly installed and maintained, it prevents leaks, structural damage, and costly repairs. If you suspect flashing problems or want to ensure your chimney area is fully protected in Grand Island and surrounding areas, J-Tech Construction & Solar is here to help.
Contact J-Tech Construction & Solar today for a free estimate and let our experienced team inspect, repair, or replace your chimney flashing with precision and care that lasts for years to come.